Gray Hair Coverage: Complete Professional Guide
Professional gray hair coverage guide. Cover 100% of grays, even the most resistant, with pre-pigmentation, formulation by percentage, and exact timing.
Blendsor
Blendsor Team

How many times have you applied perfect color on mids and ends, but the gray at the roots keeps shining like silver threads?
If you work with clients over 35, you know exactly what I’m talking about. That frustration when color doesn’t “grab” on gray hair. When the roots show again after three weeks. When the client comes back saying “the color doesn’t last.”
The good news: 100% gray coverage is possible. Even on the most resistant hair. But it requires understanding why gray hair is different and adapting your technique. That’s exactly what we’ll cover today.
Quick summary: Gray hair is difficult to cover because of its tighter cuticle, lower natural porosity, coarser texture, and absence of melanin. The solution is pre-pigmentation (mandatory above 50% gray), formulas adapted by percentage (up to 60% natural base for fully gray hair), always 20 vol developer, and processing times of 40-50 minutes minimum.
Why Is Gray Hair So Difficult to Cover?
Gray hair has four physical characteristics that make color absorption difficult: a tighter, more compact cuticle, lower natural porosity, coarser and more rigid fiber, and a total absence of melanin to anchor the new pigment. Glassy or resistant grays are the hardest to cover — almost transparent shine, repel water and products, and require mandatory pre-treatment before any color application.
Gray hair isn’t simply hair without pigment. It has different physical characteristics that directly affect how it absorbs color.
Gray hair presents:
- Tighter cuticle: The surface is smoother and more compact
- Lower natural porosity: Makes color penetration difficult
- Coarser texture: More resistant and rigid fiber
- Absence of melanin: No base pigment to anchor the new color
According to the International Association of Trichologists, these structural changes result from the natural graying process, where follicle melanocytes stop producing melanin. This explains why the same color that works perfectly on pigmented hair can slip off gray hair. It’s not the product. It’s the hair structure.
To better understand how pigments interact with the hair fiber, check out our complete colorimetry basics guide.
The “Glassy Hair” Problem
Some gray hairs are particularly difficult. They’re called glassy or resistant grays. You can identify them because:
- They have an almost transparent shine
- They feel harder to the touch
- They repel water and products
- They require special pre-treatment techniques
If your client has this type of gray, standard techniques won’t work. Pre-pigmentation is mandatory.
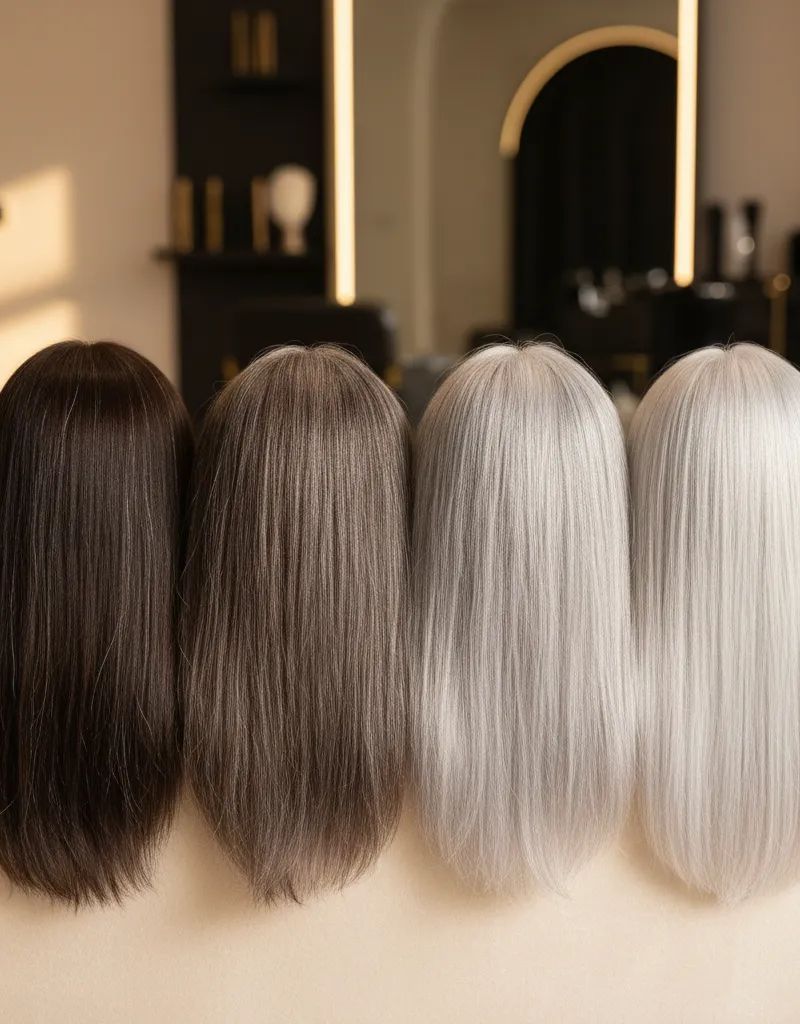
How Do You Diagnose Gray Percentage Correctly?
Gray percentage determines your entire coverage strategy. There are four ranges: 0-25% (scattered, easy to cover), 25-50% (moderate, concentrated at temples), 50-75% (mostly gray, pre-pigmentation necessary), 75-100% (fully gray, pre-pigmentation mandatory). Always evaluate on dry hair under natural or neutral white light — wet hair hides grays and leads to underestimation.
Before formulating, you need to diagnose correctly. The gray percentage determines your entire strategy.
Classification Table
| Percentage | Classification | Characteristics |
|---|---|---|
| 0-25% | Scattered grays | Some visible grays, easy to cover |
| 25-50% | Moderate grays | Concentrated zones, especially temples and front |
| 50-75% | Mostly gray | More gray than pigmented hair |
| 75-100% | Completely gray | Absolute gray predominance |
How to Evaluate Correctly
- Proper lighting: Natural or neutral white light
- Dry hair: Wet hair hides grays
- Separate zones: Temples and crown usually have more
- No previous color: Evaluate only natural regrowth
Pro tip: Many clients underestimate their gray percentage. Trust your visual diagnosis, not what they tell you.
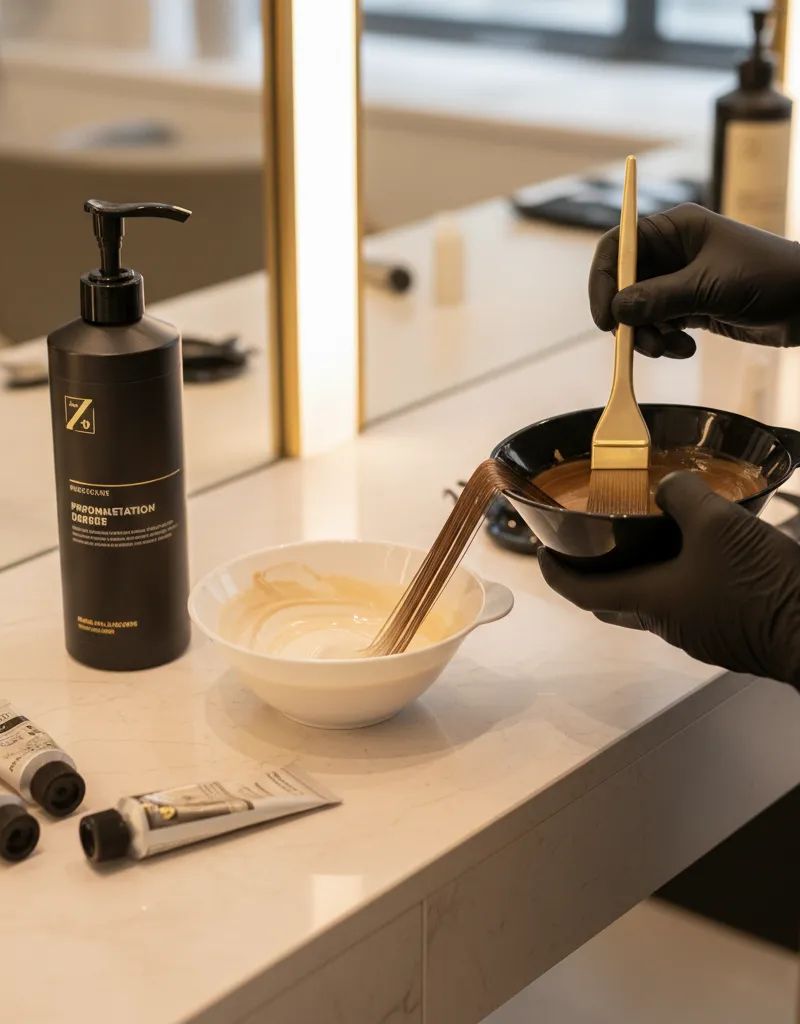
How Do You Pre-Pigment Gray Hair Correctly?
Pre-pigmentation deposits base pigment on gray hair before the final color. Choose a tone 1-2 levels lighter than the final desired color in the same reflect family. Mix with water (1:1) or 10 vol developer, apply only to gray areas for 10-15 minutes, and do not rinse. Apply the final color directly over the damp pre-pigmentation — the base pigment creates a bridge for the final color to adhere.
Pre-pigmentation is the step that separates professional colorists from those who “try and see.” It involves depositing base pigment on gray hair before applying the final color.
When It’s Mandatory
| Gray Percentage | Pre-Pigmentation |
|---|---|
| 0-30% | Optional |
| 30-50% | Recommended |
| 50-70% | Necessary |
| 70-100% | Mandatory |
When It’s Especially Critical
- Glassy or very resistant grays
- Warm tones like coppers or golds
- Dark natural colors (levels 3-5)
- Clients with history of poor coverage
How to Pre-Pigment Correctly
Step 1: Choose the pre-pigmentation color
The color should be 1-2 levels lighter than the desired final color, in the same reflect family.
| Desired Final Color | Pre-Pigmentation |
|---|---|
| Natural brown (4.0) | 5.0 or 5.3 gold |
| Copper brown (5.4) | 6.4 or 6.34 |
| Dark ash blonde (6.1) | 7.0 or 7.1 |
| Medium golden blonde (7.3) | 8.3 or 8.0 |
Step 2: Application
- Mix the pre-pigmentation color with water (1:1) or with 10 vol developer
- Apply only to gray areas
- Let it process 10-15 minutes
- Don’t rinse
Step 3: Apply the final color
Directly over the damp pre-pigmentation. The base pigment will create a bridge for the final color to adhere.
How Do You Formulate Color by Gray Percentage?
Natural base adjusts to gray percentage: 0-25% = pure desired color; 25-50% = desired color 70% + natural base 30%; 50-75% = desired color 50% + natural base 50%; 75-100% = natural base 60% + desired color 40%. The color level must be equal to or darker than the client’s original natural level before graying — going lighter means less pigment and worse coverage.
The amount of natural base you add to your formula depends directly on the gray percentage. The natural base provides the structure that grays need to retain color.
Formulas by Percentage
| Gray Percentage | Formula |
|---|---|
| 0-25% | Desired color pure |
| 25-50% | Desired color (70%) + Natural base same level (30%) |
| 50-75% | Desired color (50%) + Natural base (50%) |
| 75-100% | Natural base (60%) + Desired color (40%) |
Practical Example
Client: 60% gray, wants light copper brown (5.4)
Formula:
- 5.0 Natural base: 30g (50%)
- 5.4 Copper: 30g (50%)
- 20 vol developer: 60ml
The result will be a light brown with copper reflect, but with the structure needed to cover grays.
The Darker Level Rule
For optimal coverage, the color level should be equal to or darker than the client’s original natural level (before grays appeared).
If the client was naturally level 6 and now has 70% gray, formulating for level 7+ will give worse coverage than formulating for level 6 or lower.
What Developer Should You Use for Gray Hair Coverage?
The optimal developer for gray hair is always 20 vol, regardless of gray percentage. Low volume (10 vol) doesn’t open the cuticle enough; high volumes (30-40 vol) lighten more than they deposit, oxidize the deposited pigment too fast, and reduce color durability. 20 vol is the sweet spot: sufficient cuticle opening without excessive lightening.
The developer plays a crucial role in coverage. To dive deeper into each volume, check our developer volumes guide.
Recommended Volume by Percentage
| Gray Percentage | Developer | Reason |
|---|---|---|
| 0-30% | 10-20 vol | Few grays cover with standard opening |
| 30-50% | 20 vol | Balance between opening and deposit |
| 50-75% | 20 vol | Same volume, more time |
| 75-100% | 20 vol | Never more than 20 vol for grays |
Why NOT to Use 30 or 40 Vol on Grays
It might seem logical: “resistant grays = stronger developer.” Wrong. As the Society of Cosmetic Chemists explains, hydrogen peroxide concentration affects both lightening and pigment deposit.
High volumes:
- Lighten more than they deposit
- Oxidize deposited pigment too quickly
- Generate lighter tones than desired
- Reduce color durability
20 vol is the sweet spot: enough cuticle opening without excessive lightening.
How Long Does Color Need to Process on Gray Hair?
Minimum processing times by percentage: scattered 0-30% = 30-35 min; moderate 30-50% = 35-40 min; abundant 50-75% = 40-45 min; total 75-100% = 45-50 min. The staggered technique applies first to gray roots (full time), moves to mid-lengths at 15-20 min, and touches ends only in the last 10 min — protecting previously treated hair while giving resistant grays the time they need.
Time is where many colorists lose the battle. Grays need more time than pigmented hair.
Recommended Times
| Coverage Type | Minimum Time | Optimal Time |
|---|---|---|
| Scattered grays (0-30%) | 30 min | 35 min |
| Moderate grays (30-50%) | 35 min | 40 min |
| Abundant grays (50-75%) | 40 min | 45 min |
| Total grays (75-100%) | 45 min | 50 min |
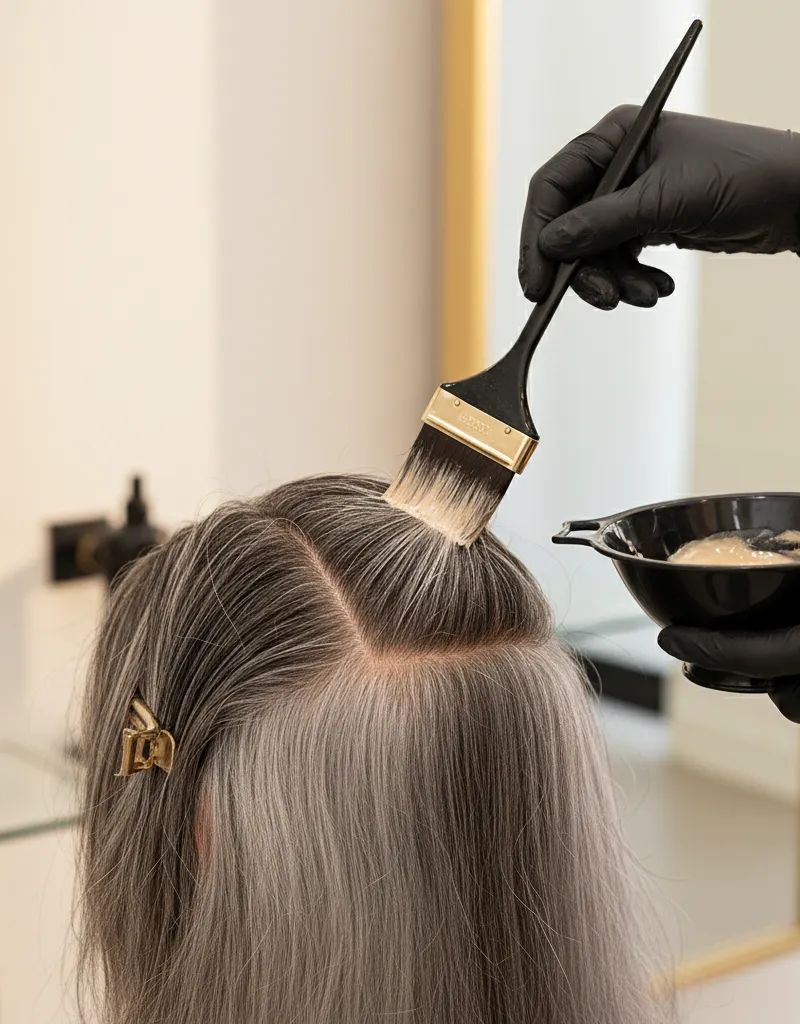
The Staggered Time Technique
To avoid over-processing mids and ends:
- Apply first to gray roots: Full time
- Move to mids at 15-20 min: If there’s color difference
- Ends in the last 10 min: Just to refresh
This respects previously treated hair while giving extra time to resistant grays.
Pro tip: Temple grays are usually the most resistant. Always start there.
What Are the Most Common Gray Coverage Mistakes?
The six mistakes that most damage coverage results are: skipping pre-pigmentation above 50% gray, using colors that are too light (less pigment means worse coverage), not adding natural base to the formula, insufficient processing time (under 35-40 minutes), rinsing before emulsifying properly, and treating glassy grays the same as regular gray without extra pre-treatment.
1. Skipping Pre-Pigmentation
Problem: Grays absorb the reflect but not the base, appearing transparent or with unwanted tones.
Solution: Always pre-pigment with more than 50% grays.
2. Using Colors That Are Too Light
Problem: High levels have less pigment and cover worse.
Solution: If the client wants light blonde, consider a darker base first with highlights. To better understand color levels, check our dedicated guide.
3. Not Adding Natural Base
Problem: Fashion colors (pure reflects) don’t have the structure to adhere to grays.
Solution: Always mix with natural base according to the percentage table.
4. Insufficient Time
Problem: Removing color before pigment fully penetrates.
Solution: Respect the times. Grays need minimum 35-40 minutes.
5. Rinsing Too Soon
Problem: Cutting the chemical process before completion.
Solution: Emulsify well before rinsing. Add water and massage to help the color set.
6. Not Considering Texture
Problem: Treating all grays the same when some are glassy.
Solution: Identify the most resistant zones and treat them with extra pre-pigmentation.
How Should Clients Maintain Gray Coverage Between Appointments?
Clients with more than 50% gray should touch up roots every 4-5 weeks. Between appointments: sulfate-free shampoo preserves color, warm water (not hot) prevents cuticle from opening, and UV protection reduces fading. A color bath (regular color with 10 vol developer at 1:3 ratio, applied to mid-lengths and ends for 5-10 minutes) refreshes tone without buildup or damage.
Perfect coverage also depends on how the client cares for their hair between visits.
Client Recommendations
- Sulfate-free shampoo: Preserves color
- Warm water: Heat opens the cuticle and releases pigment
- UV protection: Sun fades color
- Touch up roots every 4-5 weeks: Before they become too visible
Color Bath Technique
To refresh between appointments without touching roots:
- Mix the usual color with 10 vol developer (1:3)
- Apply to mids and ends for 5-10 minutes
- Emulsify and rinse
This revives color without buildup or damage.
Frequently Asked Questions
Why don’t some grays cover even when using the correct technique?
Glassy grays have an extremely tight cuticle that prevents pigment penetration. The solution is to pre-pigment with pure color (no developer, just water) for 20 minutes before applying the complete formula. You can also use steam or gentle heat to open the cuticle.
Can I cover grays with fantasy tones or very light colors?
Very light tones (level 9-10) and fantasy colors have poor coverage ability because they contain less pigment. To achieve this, you need a prior coverage base (level 6-7 natural) and then apply the desired tone on top. It’s a two-step process.
Does pre-pigmentation darken the final result?
Not if done correctly. The pre-pigmentation color should be 1-2 levels lighter than the final. Also, by not using developer (just water), the pigment stays more superficial and serves as a bridge, not a definitive color.
How often should I touch up gray roots?
The standard is every 4-5 weeks for clients with more than 50% gray. Less time can sensitize the scalp; more time makes the job harder because there’s more regrowth. For lower percentages, it can be spaced to 6-8 weeks.
What do I do if grays cover but color washes out quickly?
The problem is usually insufficient time or premature rinsing. Make sure to respect minimum 40 minutes for grays and emulsify well before rinsing. Also check if the client uses sulfate shampoos, which accelerate color loss. Proper neutralization technique also helps color set better.
Recommended Products for Gray Coverage
Professional hair dyes with the best gray coverage based on our experience:
- Schwarzkopf Igora Royal — The king of coverage. Its deep pigmentation technology covers up to 100% grays, even the most resistant ones. Wide range of natural tones.
- Wella Koleston Perfect — Exceptional coverage with natural results. The Pure Naturals line is designed specifically for grays. Mix 1:1 with 20vol.
- L’Oreal Majirel — Patented formula with Ionene G dye that bonds to glassy grays. 100% coverage from the first application.
- Goldwell Topchic — Reliable coverage with a brilliant finish. Its tube formula allows precise dosing. To compare gray coverage shades across brands, use our converter tool.
Try our developer-dye mix calculator to calculate the right ratio based on your client’s gray percentage.
This article contains affiliate links. If you purchase through them, we receive a small commission at no additional cost to you. We only recommend products that trusted professionals endorse.
In Summary
Professional gray hair coverage is based on:
- Precise diagnosis: Know the real gray percentage
- Pre-pigmentation: Mandatory with more than 50% grays
- Adapted formulation: Natural base according to percentage, never pure color
- 20 vol developer: The perfect balance for grays
- Sufficient time: Minimum 40-45 minutes for total coverage
- Correct technique: Emulsify well, don’t rinse prematurely
Covering grays isn’t harder than any other service. It just requires understanding the science behind it and adapting your technique.
Want gray coverage formulas calculated automatically? Try Blendsor for free. The AI analyzes your client’s gray percentage and suggests the exact formulation, including pre-pigmentation when needed.
Related articles


Practice with our free tools
Calculators, neutralization wheel, AI consultation...
The Monday Briefing
Color techniques and trends for professionals. No spam.
Apply this theory with precision
Blendsor analyzes 70+ variables and generates exact formulas based on real colorimetry. Try our free color consultation or download the app.
Download freeWritten by the Blendsor team
Professional hair colorimetry experts with experience in AI-assisted formulation. We combine color science, salon practice and technology to help colorists formulate with precision.