Pre-Pigmentation Going Darker: Filling the Base from Blonde to Brown
Going blonde to brown without pre-pigmenting turns green or flat. Learn which undertone to replace by level and how to formulate the fill step by step.
Blendsor
Blendsor Team
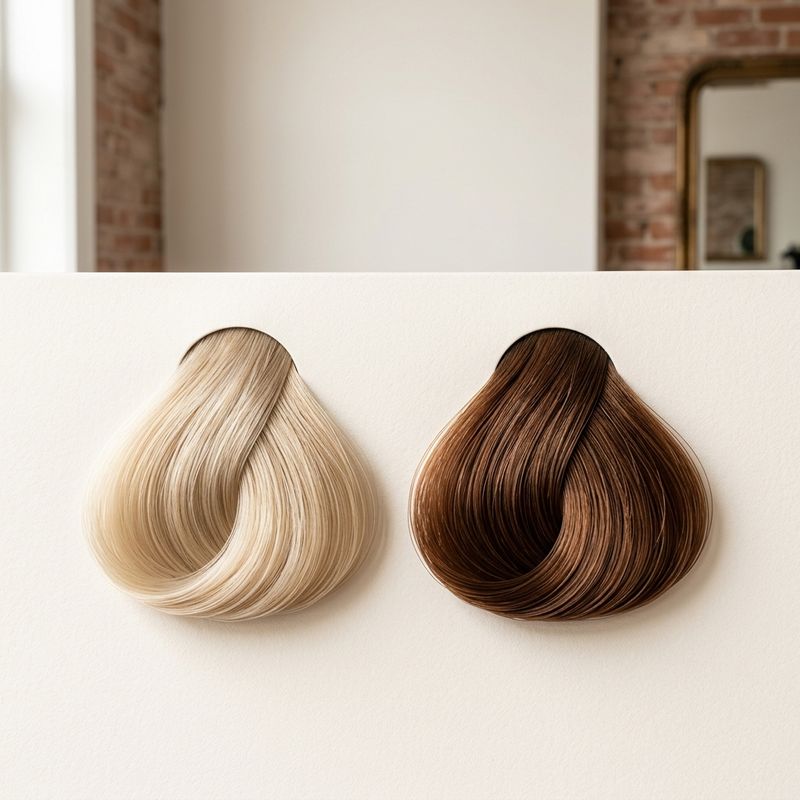
How many times has a client asked you to “go back to my brown” and, picturing the result in your head, you already knew that brown was going to come out flat, cool, with a greenish cast that wasn’t in your formula?
If you’ve spent years behind the chair, you know that moment. The blonde base looks clean, you pick a nice brown, you apply it straight onto the hair… and three weeks later the client is back saying “the color faded” or “it left a weird, muddy tone.”
It’s not the brand. It’s not the processing time. It’s that a step gets skipped when you go darker: replacing the warm pigment the lightening stripped away. Today we cover exactly which undertone to put back depending on the level, how to formulate that fill, and why skipping it is the reason so many browns “don’t take.”
Why a re-darkened blonde turns green or goes flat
When you lighten hair, you don’t just raise the level — you empty out the natural pigment. A natural level 5 or 6 brown carries warmth (reds and oranges) that holds the tone and gives it depth. Lift it up to a level 8, 9 or 10 blonde and that warm pigment is almost entirely gone.
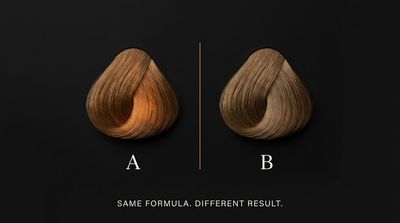
The trouble starts when you apply a cool or neutral brown directly onto that empty base. The dye deposits its reflect, but it has nothing to sit on. Without the warm base a natural head of hair would have, the eye reads the result as greenish, ashy, or simply dull. You’ve put color over a hole, not over a foundation.
It’s the same principle behind why hair color levels and their lift undertones matter so much: every level has its own undertone. When that undertone is missing, you have to put it back before you color. That’s called pre-pigmentation when going darker, and it’s the opposite of what you do with residual pigment in bleached hair: there you remove unwanted pigment; here you replace what’s missing.
Pro tip: if you’re unsure whether a lightened base needs a fill, ask yourself a simple question. Would natural hair at that target level have warmth of its own? If the answer is yes (and from level 7 down it almost always is), pre-pigment.
Which undertone to replace by target level
The rule is direct: you replace the lift undertone of the level you want to reach, not the one you start from. You give back the pigment that natural hair at that level would have innately.
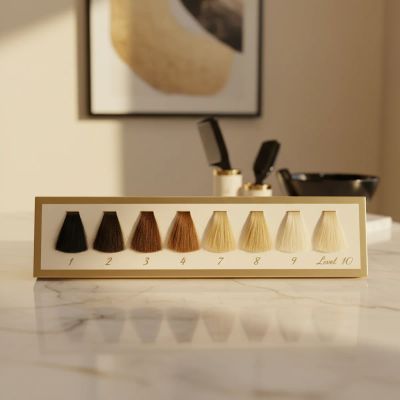
Here’s the table you use as reference, aligned with the undertone map you already work with when toning:
| Target level | Lift undertone to replace | Pre-pigment reflect | Example shade |
|---|---|---|---|
| 5 (light brown) | Red / red-orange | Copper-red | 6.4 / 6.34 |
| 6 (dark blonde) | Orange | Copper | 7.4 / 7.34 |
| 7 (medium blonde) | Orange-yellow | Gold-copper | 8.3 / 8.34 |
| 8 (light blonde) | Yellow-orange | Gold | 9.3 |
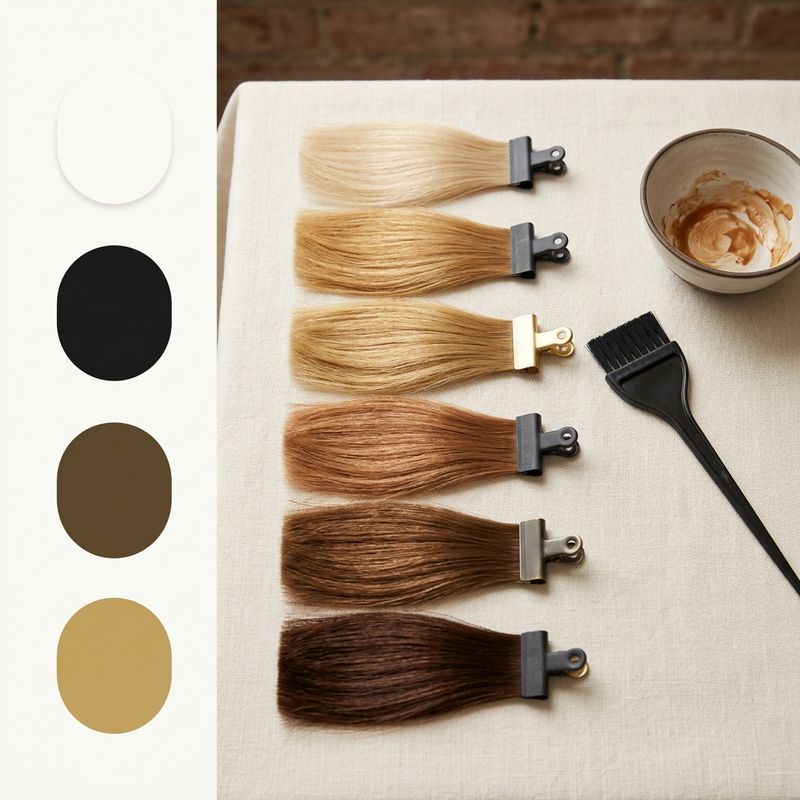
There’s one detail that decides the result and almost nobody applies it: you pick the pre-pigment tone one level lighter than the final color. Going to a level 5 brown, you pre-pigment with a warm level 6. Why? Because the pre-pigment isn’t the color the client will see — it’s the base that holds it. Put it at the same level or darker and the final result goes dull, and you lose the depth you were after.
The lighter the start and the darker the target, the more critical this step is. Going from a 9 to a 5 without replacing is practically a guaranteed cool cast. Going from a 7 to a 6 is more forgiving, but the brown will still gain richness if you fill.
The mistake of pre-pigmenting “by eye”
Picking the warm tone on instinct — “I’ll throw on a gold and call it done” — is where it goes wrong. The gold of an 8 doesn’t fill the same as the copper of a 6. If the target is level 5 and you fill with light gold, you’re short on red and the brown comes out flat. Use the table, not your gut.
How to formulate pre-pigmentation step by step
This is the part that gets done wrong most often, and where one detail of developer ruins all the work.
-
Diagnose the real level of the base and set the target. Look at the lightened hair dry and wet. Confirm what level the client wants to reach. That gives you the undertone to replace from the table.
-
Pick the pre-pigment tone one level lighter than the target, with the warm reflect from the table. For a level 5 brown, a copper-red at level 6.
-
Apply the pre-pigment with demi-permanent or direct dye, WITHOUT developer or with a maximum of 6 volume. This is the point that defines success. Never use permanent color or 10, 20 or 30 volume developer to pre-pigment: the excess oxidation consumes the warm pigment before the final color has anything to grab onto. Pre-pigmenting with high volume is doing the work and undoing it in the same move.
-
Let the pre-pigment process for a few minutes (follow the timing your direct dye or demi brand indicates, usually 5 to 15 minutes).
-
DO NOT rinse between the pre-pigment and the target color. You apply the final brown directly over the pre-pigment. This is one of the most common errors: rinsing the fill drags off part of the warmth you just replaced and you’re left without a base again. Pre-pigment and color work in layers, not separately.
-
Apply the target color and process per the manufacturer. Now the brown settles on a complete warm base and takes the way it would on natural hair.
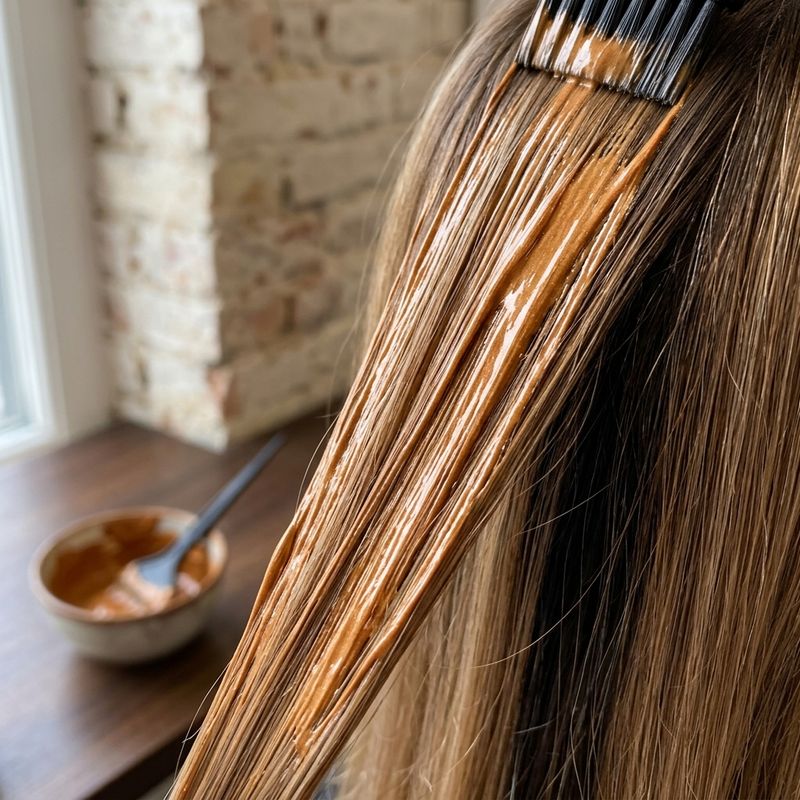
Pro tip: if you work with a brand whose direct dye is very intense, dilute it with a little of its conditioner or clear base to control the load. Better to repeat a pass than to overshoot and go too dark.
Common mistakes when going darker
-
Pre-pigmenting with permanent or high-volume developer: you oxidize the warmth you just placed and the brown comes out cool again. Demi or no developer, 6 volume ceiling.
-
Rinsing between the fill and the color: you lose part of the replaced pigment. No rinsing; the color goes directly on top.
-
Picking the pre-pigment at the same level as the target: you dull the result. The fill goes one level above the final color.
-
Skipping the step “because the base looks fine”: a lightened base is almost never clean or complete. One of the most frequent reasons a brown doesn’t last or turns within a few weeks is exactly this: it was colored over a hole.
Frequently asked questions
What developer do I use to pre-pigment when going darker?
Demi-permanent or direct dye with no developer, and 6 volume at most. Never permanent color or high volumes: they oxidize the warm pigment you’re replacing and cancel the effect. The goal is to deposit, not to lift.
Do I have to rinse the pre-pigment before applying the color?
No. You apply the target color directly over the pre-pigment, without rinsing. Rinsing drags off the warmth you just replaced and leaves you without a base again. They work in layers.
Why does my brown come out greenish if the blonde base looked clean?
Because “clean” isn’t the same as “complete.” Lightening emptied the warm pigment from the hair. A cool or neutral brown applied over that empty base reads greenish because it lacks the red-orange charge a natural head of hair at that level would have. Pre-pigmenting replaces that undertone and removes the cast.
When is pre-pigmentation not needed?
When the jump is small and you’re going to a light level where the yellow undertone is already present, or when the hair keeps enough natural warmth. The lighter the start and the darker the target, the more essential the fill. From level 7 down, assume it as standard.
In summary
- Lightening empties the warmth: a blonde doesn’t have the red-orange that holds a natural brown. Without replacing it, the result turns green or goes flat.
- Fill the target level’s undertone, one level lighter: level 5 → copper-red of a 6; level 6 → copper; level 7 → gold-copper. Use the table, not your eye.
- Demi or no developer, 6 volume max, no rinsing: high volume and rinsing are the two errors that eat the work. The target color goes directly over the fill.
Calculate professional formulas with AI
Want to generate the exact pre-pigmentation and final color formula based on each client’s starting level and target?
What’s the blonde-to-brown jump that gives you the most trouble in the chair?
What happens if you go from blonde to brunette without pre-pigmenting?
In the app, we ask you a question like this one, but about your own client.
Up for this week’s case? → More on brunettes and coppers →Related articles
Practice with our colorimetry tools
Calculators, neutralization wheel, AI consultation...
The Blendsor newsletter
Color techniques and trends for professionals. No spam.
A client in the chair right now?
The Blendsor advisor gives you the precise formula for this technique with your salon's brands — and saves it to your client's card.
Ask about your caseWritten by the Blendsor team
Professional hair colorimetry experts with experience in AI-assisted formulation. We combine color science, salon practice and technology to help colorists formulate with precision.