Color Drenching: The Technique Replacing Balayage in 2026
Color drenching hair explained: how it differs from balayage and how to do it, with the undertone for each color family, filling, application and gloss.
Blendsor
Blendsor Team
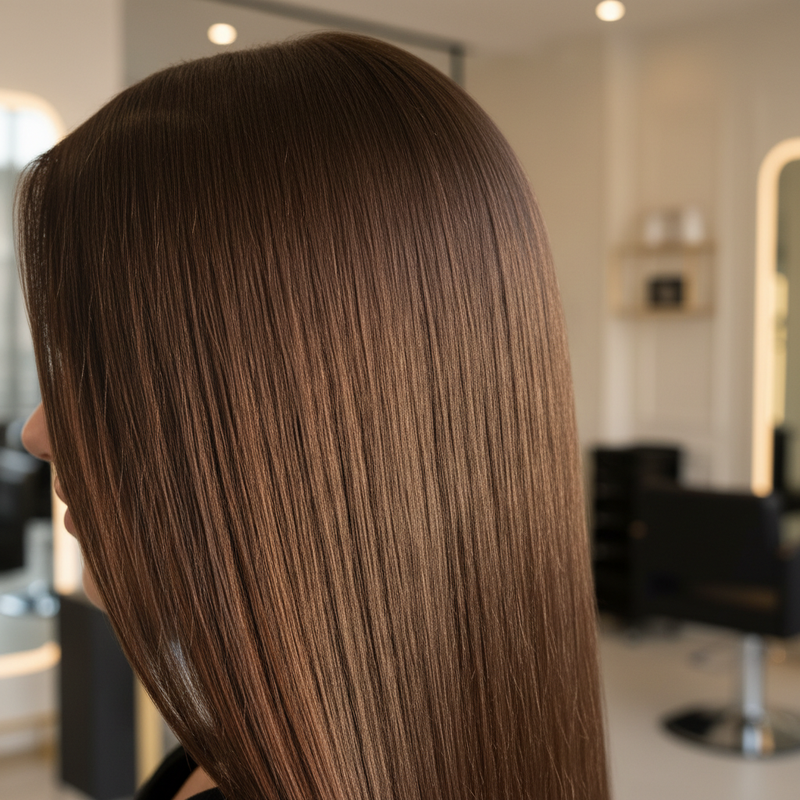
Are more and more of your clients asking for “a solid color, no highlights, something intense and shiny”?
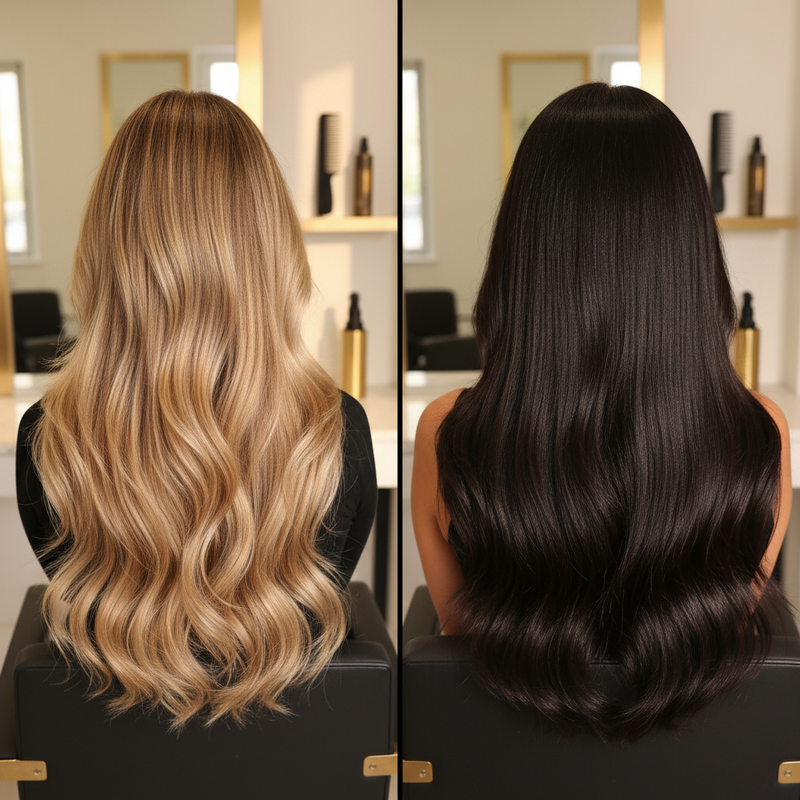
If you’re a professional colorist, you may have noticed it. After years of balayage, highlights, and dimension techniques, some clients now want the opposite: a single tone, saturated from root to tip, with depth that comes from undertones rather than contrast.
This is color drenching. In December 2025, The Zoe Report ran the forecast of Stanley Nolan, a beauty education specialist at the Ogle School: after years of balayage dominance, color drenching would trend in 2026. This article is part of our complete guide to professional coloring techniques.
Quick summary: Color drenching saturates hair from root to tip in a single intense shade, with an undertone that gives it depth and makes it shift in the light. It answers clients who ask for one saturated shade; brightness and dimension are still balayage territory. If the target is lighter than the base, you’ll need to lighten too, and a final gloss finishes the shine.
What Is Color Drenching and Why Is It Trending?
Color drenching is a total coloring technique that saturates hair from root to tip in a single, intensely pigmented shade. Unlike balayage or highlights, it doesn’t seek visible contrast or dimension. The entire head is “drenched” in the same color.
But here’s the key: it’s not flat color. The depth comes from carefully chosen undertones that make hair shift subtly under different lighting. A chocolate brown with warm red undertone, for example, looks different under natural light than under artificial light.
Is balayage out of style?
Balayage is still the technique for brightness and dimension; color drenching is the alternative for the opposite: one saturated shade, with no contrast. And it isn’t the easier service: in the same piece, Nolan warns that it needs frequent refreshes. If you’re not clear on the differences between the techniques it’s compared with, our balayage vs highlights comparison covers the fundamentals.
| Factor | Balayage | Color drenching |
|---|---|---|
| Effect | Contrast, visible dimension | Total saturation, subtle depth |
| What it takes | Lightening the sections that carry brightness, then toning | One color from root to tip; lightening only if the target is lighter than the base |
| Maintenance | Usually leaves the natural root alone, so regrowth shows less | Regrowth shows depending on contrast with the base, and the saturated tone needs refreshing with gloss or toner |
| Best for | Those wanting natural contrast | Those wanting impact and intense shine |
How Do You Formulate Color Drenching Professionally?
Color drenching is formulated with a shade at the target level plus an undertone that gives it depth. How much weight that undertone carries against the base is set with a strand test; the mix with developer (ratio, volume and timing) is set by each manufacturer. In Koleston Perfect, for example, Wella mixes 60 g of color with 60 ml of Welloxon Perfect and picks the developer strength depending on whether you’re lifting, covering gray, or working at the same level or darker (Koleston Perfect fact sheet).
Formulation in color drenching is simpler than balayage, but requires precision in undertone selection. A half-tone error shows across the entire head, not just a few highlights.
Which tone to look for in each family
On Wella’s Koleston Perfect chart, /4 is red; on Igora Royal’s, -4 is beige. With that much distance between brands, this table talks about tones and leaves the code to the chart you work with.
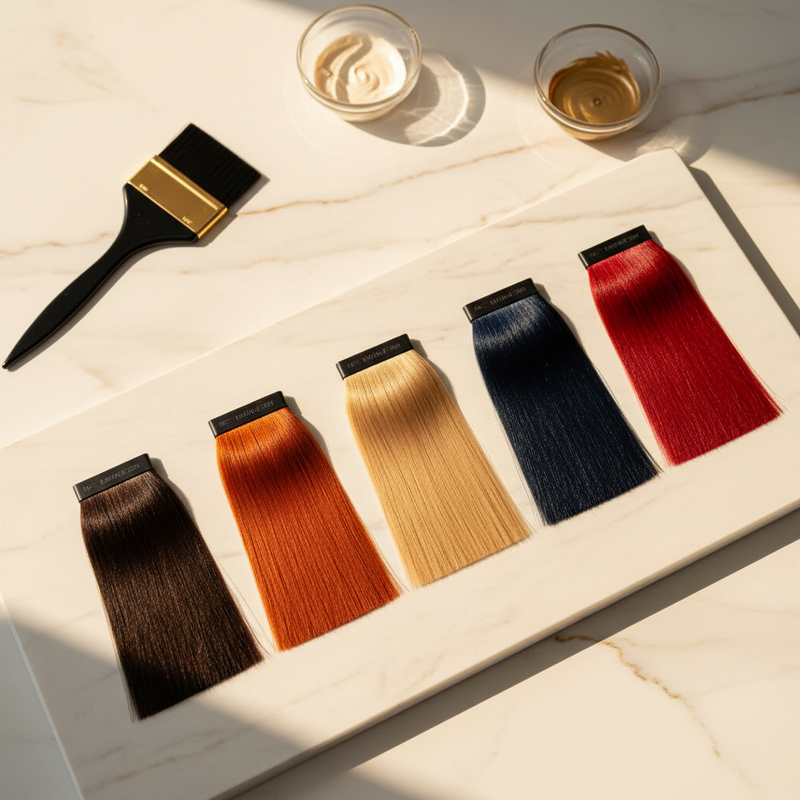
| Family | Tone to look for | What to watch |
|---|---|---|
| Chocolate brown | Mahogany or chocolate, depending on your chart | With gray, the natural your chart asks you to add for coverage |
| Deep black | Cool, bluish | Porous hair soaks up cool pigment and black can turn matte or greenish |
| Intense copper | Copper, in its most intense version if your chart has one | On porous hair, red and orange fade fast: check whether it needs filling |
| Solid honey blonde | Gold | If the base is darker than the target, it needs lifting. On natural hair the color itself does that, as far as its instructions allow (Koleston Perfect: 3 levels with 12%). With previous color, or a jump beyond that, consider lightening evenly first. Honey has its own guide: warm honey blonde |
| Cherry red | Red, in its most intense version | Fades fast on porous hair; how to make it last, in long-lasting red formulas |
| Espresso | Natural with a cool (ash) touch | The starting formula is in our espresso brunette guide |
Pro tip: The “drenched” intensity comes from how much weight you give the tone against the base, not from a magic code. Start with less tone than you think and build it up on the strand test. It’s the difference between flat brown and brown that vibrates.
The final gloss: the step that finishes the shine
The color works without it; what the gloss adds is the mirror shine drenching is after:
- Clear gloss: shine, with no added pigment
- Tonal gloss: reinforces the chosen undertone and amplifies depth
- Activator and timing: the ones on that gloss’s own instructions, not the color’s. A demi-permanent may come with its own emulsion: Wella, for example, mixes Color Touch 1:2 with Color Touch Emulsion and uses the 1.9% (6 volume) one for color deposit, correction, glazes and toning (Wella, Color Touch)
What a gloss is, when it makes sense and how to choose one is in our professional hair gloss guide.
What Is the Step-by-Step Color Drenching Technique?
Color drenching is applied in three stages: preparation (diagnosis, tests and filling if the hair needs it), root-to-tip application in the order your brand sets, and finishing (emulsify, rinse and, if you want mirror shine, gloss).
Preparation
- Diagnose: Natural level, porosity, color history. In color drenching, porosity is critical because uneven absorption shows much more than in balayage. How to read it, in our hair porosity and coloring guide
- Tests before you mix: the allergy test needs a 48-hour margin, following the color manufacturer’s directions (our 48-hour patch test guide covers how to line it up with the appointment). If the hair has a history (lightener, highlights, previous color), add a strand test and, if it’s been lightened, check its elasticity too
- Fill where needed: if the lightened areas (highlights, bleached ends) are well above the target, fill them before the color. Wella recommends it when the target level is more than two levels darker than the starting level (filling with Color Touch). Fill with warm tones, not a watered-down natural: the IGORA ROYAL technical manual for Spain (p. 28) moves from gold to copper to red as the target level gets darker, and Wella’s guideline chart leans mostly on golds and reds. The why is in our pre-pigmentation guide
Application
- Application order: brands don’t agree here. For a full-head application at the same level or darker, the Koleston Perfect usage guidelines take the mix from roots to ends in a single pass (p. 2). The IGORA ROYAL manual for Spain, on natural hair, leaves the root for last and starts on mid-lengths and ends (p. 8). Your line’s instructions decide
- Total saturation: Every section must be completely covered. Don’t skimp on product. The name says it: drench
- Previously colored lengths, separately: if mid-lengths and ends are colored or porous, start at the root and treat them afterward. The Igora manual warns that porous hair absorbs more color and can turn out darker than intended (p. 26), and for regrowth services it suggests its Dual System: permanent color on the regrowth only and a demi-permanent (IGORA VIBRANCE) on mid-lengths and ends (p. 14)
Processing and finishing
- Visual check: during processing, open one front section and one back section. Total time is the one on your color’s instructions
- Emulsify before rinsing: Wella says to emulsify the color with a little warm water at the end of processing and rinse well; the Igora manual, to emulsify and rinse until the water runs clear
- Apply the gloss: with the activator and timing on its instructions
Which Shades Work Best for Color Drenching?
You can drench any shade: in The Zoe Report, Nolan names everything from deep orangey reds to blacks and silvery platinums. With oxidative color, it shows best on shades with a strong tone over a base with depth: chocolate brown, blue-black, intense copper and red. The lighter the target versus the base, the more the color itself has to lift; if the jump is more than it can manage, that’s when pre-lightening comes in. And a natural with no tone saturates too, but loses the shift in light that defines the technique.
This table ranks shades by impact and by how easy they are to saturate:
| Shade | Impact level | Ease | Best for |
|---|---|---|---|
| Deep espresso | Very high | Easy | Clients who want drama without risk |
| Milk chocolate | High | Easy | Clients who want warmth without going red |
| Fiery copper | Very high | Medium | Warm skin tones, bold personalities |
| Solid honey blonde | High | Medium-high | If the base is darker, check how far the color itself can lift |
| Blue-black | Very high | Easy | Most impactful, extreme shine |
| Cherry red | High | Difficult | Clients happy to refresh it often |
Pro tip: Clients coming from balayage have two kinds of hair on one head: their base and lighter, more porous highlights. Check how far the highlights sit from the target before deciding on filling (step 3), and let a strand test with filler and color tell you whether it fits in one visit or is better split into two.
What Are the Most Common Color Drenching Mistakes?
The four most common mistakes are: not filling highlighted or lightened hair, treating the root and porous lengths the same, skipping the gloss when you want mirror shine, and sticking to a natural with no tone.
- Forgetting filler on porous hair: If the client has highlights or previous lightening, lightened areas take color unevenly and can turn dark, matte or greenish. Solution: the warm-tone filler from step 3. The IGORA ROYAL manual for Spain sums it up as putting the contributing pigments back into the hair before the target color
- Treating the root and porous lengths the same: On hair with a history, ends absorb more and can turn darker. Apply them after the root, with the same formula or a demi-permanent, depending on what the control strand shows
- Skipping the gloss if you want mirror shine: Without gloss, the color can come out right but without the mirror finish associated with drenching
- Sticking to a natural with no tone: A natural alone gives even color, but not the depth that shifts with light. Add the tone you’re after and, if there’s gray, keep the natural your chart asks for to cover it
Frequently asked questions
Does color drenching damage hair?
It depends on what the service involves. If the target is at the base level or darker, color drenching is oxidative color from root to tip with no lightener, so you skip the lightening balayage needs in the bright sections. But oxidative color works inside the fiber: in the Koleston Perfect usage booklet, Wella explains that ammonia opens the hair’s outer layer so the active ingredients can penetrate, and works with the developer to remove some of the natural pigment. If the target is lighter than the base, you’ll also need to lighten, and that lightening covers the whole head. The final gloss adds shine.
Can I do color drenching over existing highlights?
Yes, filling the highlights first when the target shade is more than two levels darker than they are, which is Wella’s threshold. Without that step, lightened areas take color unevenly and can turn dark, matte or greenish, as the IGORA ROYAL manual for Spain describes. A strand test decides whether filler and color fit in the same visit.
How long does color drenching last?
It varies from head to head with the tone, washing and porosity. On porous hair, red and orange pigments fade fast, according to the IGORA ROYAL manual for Spain. And Nolan, in The Zoe Report, warns that it’s a color that needs frequent refreshes with gloss or toner, plus root touch-ups depending on the contrast with the base.
What’s the difference between color drenching and color melting?
Color melting blends two or more shades with no visible lines, creating gradual transitions. Color drenching uses a single shade from root to tip, with depth that comes from the undertone rather than from transitions between shades.
Key takeaways
- Color drenching = one shade, maximum saturation: Depth comes from undertones, not from contrast between highlights
- Gloss last, on its own instructions: clear if you only want shine, pigmented if you want to reinforce the undertone
- It sits alongside balayage: each technique serves a different request, and when the target is lighter than the base, drenching needs lightening too
Calculate professional formulas with AI
Want to generate custom color drenching formulas based on each client’s target shade and starting level?
Use the hair color mixing calculator to predict the level and tone you can expect when you mix two shades for a color drenching look.
What's the difference between color drenching and balayage?
In the app, we ask you a question like this one, but about your own client.
Up for this week’s case? → More on highlights and techniques →Related articles
Practice with our colorimetry tools
Calculators, neutralization wheel, AI consultation...
The Blendsor newsletter
Color techniques and trends for professionals. No spam.
A client in the chair right now?
The Blendsor advisor gives you the precise formula for this technique with your salon's brands — and saves it to your client's card.
Ask about your caseWritten by the Blendsor team
Professional hair colorimetry experts with experience in AI-assisted formulation. We combine color science, salon practice and technology to help colorists formulate with precision.