Shadow Root for Blended, Low-Maintenance Roots
How to blend the regrowth line with shadow root so blonde hair grows out without a harsh edge. Step-by-step technique, how to choose the level, and placement.
Blendsor
Blendsor Team
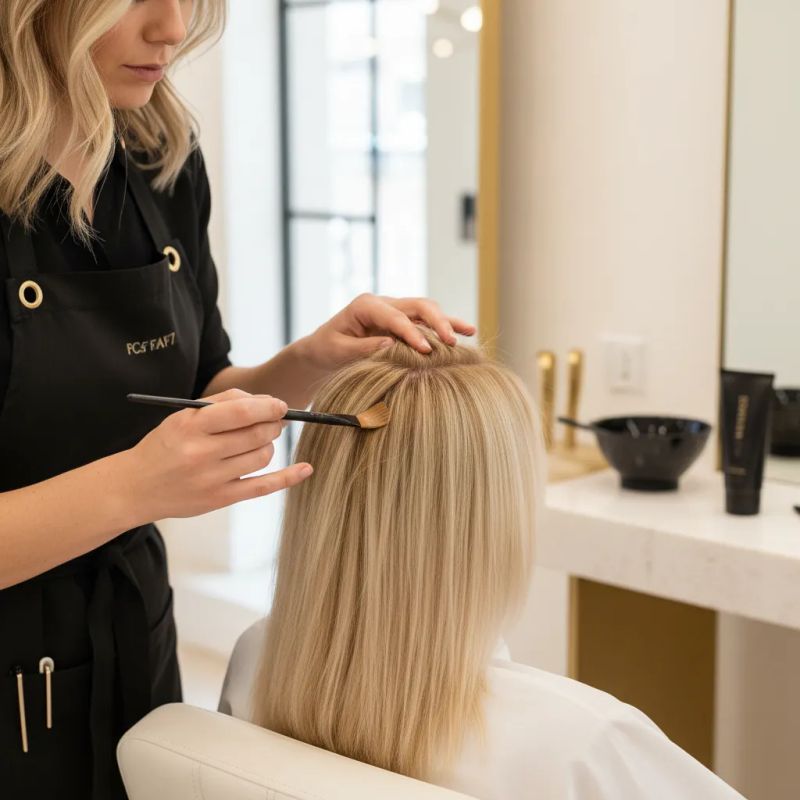
How many clients ask you for “something that won’t show when it grows out”? Probably most of them. Constant maintenance is the biggest enemy of blondes. Every 4-6 weeks, the line of demarcation appears like a neon sign saying “time for a touch-up.”
Shadow root is the answer to that request: it creates a smooth transition between the natural root and the colored lengths and erases the harsh line that gives away regrowth.
In this guide, you’ll learn exactly how to execute a professional shadow root, which formulas to use, and the mistakes to avoid. This technique is part of our complete guide to professional coloring techniques.
Quick summary: Shadow root (a blended root) deliberately deepens the root area of highlighted hair and melts it into the lengths, so regrowth doesn’t leave a line. It’s done with demi-permanent or semi-permanent color, one to two levels darker than the highlights, in a natural or soft cool reflect. It doesn’t lift the natural root and involves no bleach.
What Is Shadow Root and Why Does It Work?
Shadow root, also called a root shadow or a blended root, is a veil of color applied at the root after highlighting and blended down toward the lighter lengths. It blends the root without lightening it: it deposits a shade slightly deeper than the highlights so the natural root and the blonde meet in a gradient, without the hard edge that shows where the last service ended. Wella’s US professional blog describes it as a blend between the highlighted root area and the natural color, done with demi-permanent or semi-permanent color only.
| Benefit | Description |
|---|---|
| Regrowth without a line | The root grows out with no visible edge. The shadow itself is deposit color and gets refreshed |
| Versatility | Works on blondes, brunettes, and even redheads |
| No bleach | Deposit only; how the fiber feels it depends on the product and the developer |
| Adds depth | Breaks up the “helmet” effect of an all-over blonde |
It works because the edge disappears: when the root flows into the lengths as a gradient, the eye has no line to stop on.
Pro tip: Shadow root is a great fit for anyone who wants blonde hair but has a dark natural base. The shadow bridges the regrowth and the lengths, instead of lightening the root at every appointment.
How Do You Do Shadow Root Step by Step?
Shadow root is executed in 6 steps: pre-assessment (root level, highlight level, demarcation line, hair history and goal), formula preparation (demi-permanent or semi-permanent, one to two levels darker than the highlights, natural or soft cool reflect), application to the root area, blending from top to bottom, processing watched by eye, and rinse with prior emulsification.
Let’s get into the detailed process. This technique is normally executed as the final step, after any lightening service.
Step 1: Pre-Assessment
Before starting, evaluate:
- Natural root level: This determines whether you need to darken or just blend
- Length level: The contrast between root and length defines the shadow intensity
- Current line of demarcation: Is it very marked? How many centimeters of regrowth?
- Maintenance goal: How often do they want to come back? That decides how much contrast you leave.
Check our colorimetry basics guide if you need to refresh concepts on levels and undertones.
A demi-permanent shadow doesn’t get you out of the allergy test: it goes 48 hours beforehand, following the manufacturer’s instructions (Wella’s Color Touch usage guide asks for it before any color service), and here’s how to fit it into your schedule. If the hair has highlights, bleach or previous color, add a strand test too: it shows how that fiber takes color before you commit the whole root. With bleached highlights, use that same strand to test their elasticity.
Step 2: Prepare the Formula
The shadow root formula depends on the desired contrast:
Basic shadow root formula:
- Demi-permanent or semi-permanent color
- Shade one to two levels darker than the highlights
- Developer and ratio: whatever your line's instructions say
- Natural or soft cool reflect
That one-to-two-level range is the one Wella gives for its shadow root technique over foil highlights.
Important: Choose natural or beige tones, or a slight ash reflect. Intense warm reflects (copper, strong gold) can look artificial on the root.
Step 3: Root Application
This is where most mistakes happen. The application must be precise but gentle:
- Section the hair into 4 quadrants and work in horizontal sections
- Apply product to the root: In Wella’s version over foil highlights, from the root down one inch (about 2.5 cm)
- Work quickly: You have little product, don’t linger
- Decide what to do with the hairline: That same version leaves the front hairline out so the face keeps its brightness. If the most visible regrowth sits right there, work it with very little product
Don’t worry about perfection in this step. The next step is what defines the result.
Step 4: The Blending (The Key to Shadow Root)
This is the step that separates a professional shadow root from an amateur one:
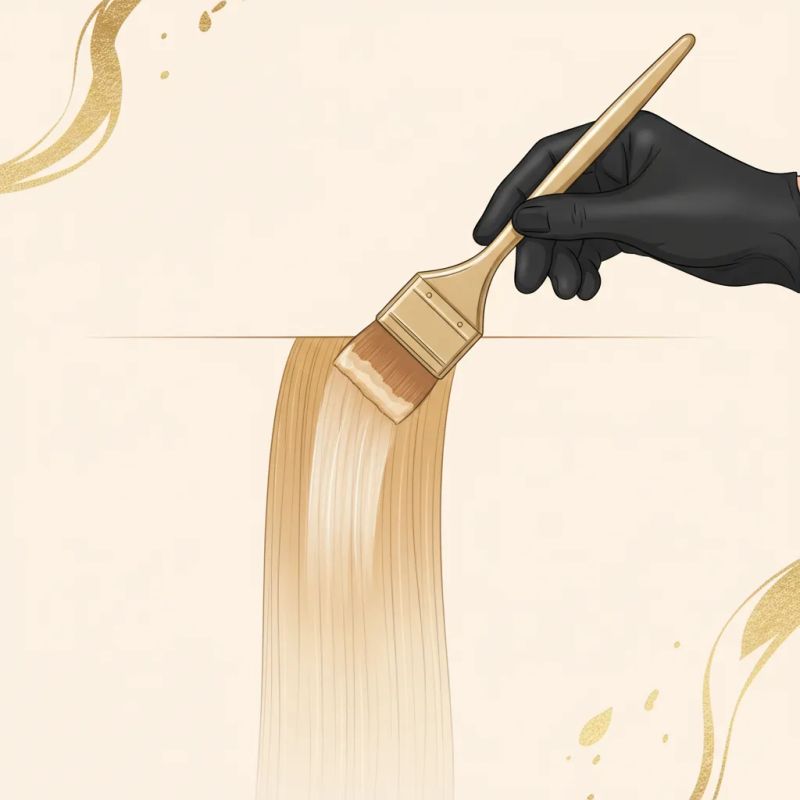
- Once the root is done, start blending while the mix is still workable
- With a clean brush or comb, drag the product downward
- Vertical movements: Top to bottom
- Less product each time: The brush should naturally discharge
- Blending extension: Set by the effect you want and by where the highlights start; a longer gradient reads softer
The transition must be imperceptible. There should be no visible line where the shadow ends and the blonde begins.
Step 5: Processing Time
Each product’s instructions set the time, and with a shadow you also judge it by eye:
| Product Type | Where the time comes from | What to watch |
|---|---|---|
| Demi-permanent | Your line’s instructions | That the shadow stays a sheer veil |
| Permanent (if there’s gray at the root) | The instructions, root timing | That the root doesn’t end up darker than planned |
| Gloss or toner | Its own instructions | The tone of the lengths, if you also tone them with a gloss |
An example with instructions: Color Touch calls for 20 minutes, or 15 with Climazon. In its shadow root technique over highlights, Wella processes for 5 to 15 minutes, so the strand matters more than the clock.
Pro tip: Keep a close eye on development. The shadow root should look subtle, not like a dark stain. If it darkens too much, emulsify immediately.
Step 6: Rinse and Finish
- Emulsify with warm water before rinsing completely
- Wash with gentle shampoo (not clarifying)
- Apply conditioner only to mid-lengths and ends
- Dry and evaluate: The shadow should look natural, not artificial
How Do You Formulate Shadow Root by Level?
The reference point isn’t the natural root but the highlights: the shadow sits one to two levels darker than them, in demi-permanent or semi-permanent color, and it doesn’t lift the root. Over level 9 highlights, that means a 7 or an 8; over level 7 lengths, a 5 or a 6. Before you settle on the shade, check how porous the highlights are, because lightened hair grabs color in its own way (more on that in mistake 4).
Complete Formula Example
Case: highlights at level 9, natural root at level 5, and the goal is regrowth that doesn’t show.
Shadow root with Wella Color Touch (demi-permanent, no ammonia):
- Shade: 7/0 or 8/0, one to two levels darker than the highlights
  (over very light highlights, 7/03 or 8/03: the touch of gold
  helps keep the shadow from going matte)
- Mix: 1:2 with Color Touch Emulsion 1.9%
  (the instructions write it as 30 g color + 60 g emulsion)
- Area: the root, blended toward the lengths
- Time: by eye, never past the 20 min in the instructions
  (15 with Climazon)
The 1.9% emulsion is the one the Color Touch usage guide lists for working at the same depth or darkening. And notice what this mix doesn’t do: it doesn’t lift the level 5 natural root. It works on the lightened hair closest to the root, which drops toward a 7 or 8 and joins the two zones. If the goal is regrowth lighter than its natural base, Wella says it plainly in its guide to touching up roots on blonde hair: lightening is required, and that’s a different service.
What Are the Differences Between Shadow Root, Root Smudge, and Root Melt?
Shadow root and root smudge are the same technique under two names. Wella treats them as synonyms in its guide to dark roots on blonde hair, and colorists use whichever one they’re used to. The real difference is with root melt. A root shadow goes over foil highlights and is formulated one to two levels darker than them; a root melt follows teasylights, runs from the root to a little past where they begin, and is formulated at the natural level or one level darker at most.
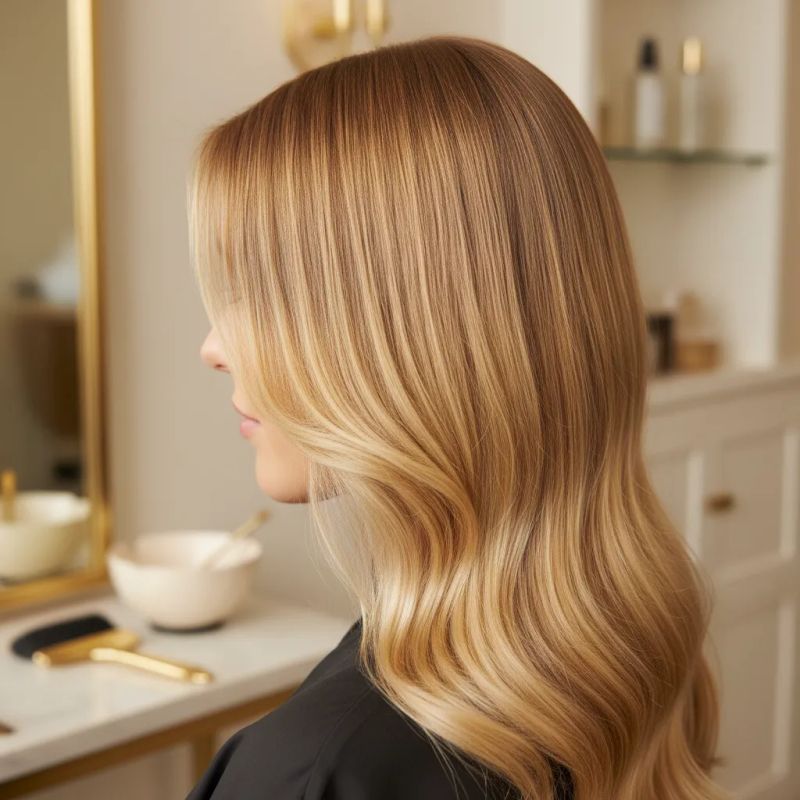
Here they are side by side:
| Technique | Applied over | Formula level | What it achieves |
|---|---|---|---|
| Shadow root / root smudge | Foil highlights, from the root | One to two levels darker than the highlights | Blends the highlighted root area into the natural color |
| Root melt | Teasylights, from the root to a little past where they start | Natural level, or one level darker at most | You can’t tell where the natural base ends |
When to Choose Each
- Shadow root (or root smudge): there are foil highlights up to the root and you want to soften that starting point
- Root melt: the highlights are teasylights and you want the natural base to melt into them with no edge
- If you want several shades fused through the whole length, that’s color melting; and if the dark-to-light shift runs down the entire head, see the differences between ombré and sombré
For more complex blending techniques, check our article on foilyage step by step. If you want to combine shadow root with foil for maximum control, our guide on shadow root with foil: technique and formulas covers the differences and when to use each variant.
What Are the Most Common Shadow Root Mistakes?
The five most frequent mistakes are: choosing a tone too dark (going more than two levels below the highlights produces a “dirty root” effect), incorrect blending that leaves a visible line (use a soft brush and vertical movements until no transition shows), applying too much product (shadow root is a wash of color, not full coverage), picking the wrong reflect (intense copper or gold, or a pure cool shade over very light blonde), and not considering the client’s skin undertone when choosing between ash or natural.
1. Choosing a Tone Too Dark
The mistake: Taking the shadow more than two levels below the highlights.
The consequence: “Dirty root” effect instead of “natural root.”
The solution: Stay within Wella’s range, one to two levels darker. Less is more in shadow root. If the root has to end up much darker than the highlights, what you’re really doing is darkening lightened hair, and that’s when you ask whether it needs filling first.
2. Not Blending Correctly
The mistake: Leaving a line where the shadow ends.
The consequence: Looks like a mistake, not an intentional technique.
The solution: Dedicate time to blending. Use a soft brush and vertical movements until you see no transition.
3. Applying Too Much Product
The mistake: Saturating the root as if it were a normal color application.
The consequence: Color extends more than desired, darkens too much.
The solution: Minimal amount. Shadow root is a wash of color, not full coverage.
4. Using Intense Warm Tones
The mistake: Shadow root with copper or strong gold reflects.
The consequence: Artificial appearance, especially on cool blondes.
The solution: A natural or beige reflect, or a soft cool one such as ash, and no intense copper, red or gold in the shadow. But be careful with a pure cool shade over very light blonde: Schwarzkopf’s IGORA ROYAL technical manual for Spain (p. 28, in Spanish) warns that when pre-lightened or highlighted hair is colored back to its natural level or darker, porous hair absorbs cool pigments and can end up dark, flat, muddy or, in the worst case, green. A shadow stops short of the natural level, but it lands on the same porous fiber, so check how a single strand responds before you shadow the rest.
5. Not Considering Client’s Undertone
The mistake: Ash shadow on a warm-toned client, or vice versa.
The consequence: The root “clashes” with the rest of the look.
The solution: Harmonize the shadow with skin undertone. Ash for cool skin, beige/neutral for warm skin.
Frequently Asked Questions
Does shadow root damage hair?
It involves no bleach and doesn’t lift: the shadow only deposits color. Even so, “no damage” isn’t an honest promise. A demi-permanent is still mixed with developer, and what the fiber feels depends on the product, the developer and the condition of the highlights it lands on. If they’re very porous, the strand test will tell you first.
How long does shadow root last?
There are two different clocks here. One is regrowth: the shadow disguises it because it leaves no line to give it away. The other is the shadow itself, which is deposit color and fades with washing. Wella notes in its guide to dark roots on blonde hair that, with a shadowed root, the client may want the color refreshed at every visit. To decide how often each person should come back, see the guide on how often to retouch roots and tone.
Can shadow root be done at home?
Technically yes, but professional results require product control and blending technique that’s difficult to replicate without training. It’s one of the techniques where the difference between professional and amateur is most evident.
Does shadow root work on gray hair?
It depends on how much gray there is and where it sits. A demi-permanent shadow blends gray rather than fully covering it; to camouflage gray roots, Wella moves to a permanent (Illumina Color or Koleston Perfect), and at that point the service is closer to a root touch-up than a shadow. If what you want is to soften the gray line without hiding it, there are two techniques built for that: bottom-up gray blending and French blending.
Can I combine shadow root with balayage or highlights?
It’s the natural pairing. Shadow root is applied as the final step, after lightening, and its classic version is done exactly that way, over finished foil highlights. In fact, balayage or foilyage without shadow root can leave the root too marked. If the base is a blonde balayage, the professional blonde balayage guide covers the lightening side.
In Summary
Shadow root is an essential technique for any hair color professional:
- Erases the regrowth line: the root flows into the lengths with no edge
- Adds depth: breaks up flat blonde from the root
- Versatile: works over foil highlights, balayage or foilyage
- Adds value: an extra service with a clear promise, regrowth that doesn’t draw a line
Mastering shadow root means offering beautiful blondes without reaching for bleach every time the root shows. The person in your chair notices it when the regrowth is already there and no line gives it away.
Want to calculate exact shadow root formulas for each client? Use the developer mix calculator to verify the exact product ratios before applying. Or formulate with Blendsor and let the AI analyze the natural level and suggest the optimal formulation.
This article is part of our complete guide to professional coloring techniques. Explore other techniques like foilyage, babylights, and color melting.
What's the difference between shadow root and a regular shaded root?
In the app, we ask you a question like this one, but about your own client.
Up for this week’s case? → More on highlights and techniques →Related articles
Practice with our colorimetry tools
Calculators, neutralization wheel, AI consultation...
The Blendsor newsletter
Color techniques and trends for professionals. No spam.
A client in the chair right now?
The Blendsor advisor gives you the precise formula for this technique with your salon's brands — and saves it to your client's card.
Ask about your caseWritten by the Blendsor team
Professional hair colorimetry experts with experience in AI-assisted formulation. We combine color science, salon practice and technology to help colorists formulate with precision.